
Jackson and I have been in the process of furnishing our humble abode by mostly DIY projects. Neither of us have a ton of experience with any kind of DIY, but it has been so much fun learning how to make things for our home. One of my most recent projects was making/ updating some of the pillows in our living room. I found this great tutorial from Newton Custom Interiors and it was super easy!
I feel I should mention, before I go on, that I have little to no sewing skills whatsoever, but that I have been trying to learn. Because pillows. And maybe curtains. And-Ooo!- I could make purses! Lots and lots of purses…
But I digress.
This pillow cover is easy enough for a newbie like me, but looks great. Imagine me jumping up and down saying “oh my gosh! This looks like I could have bought it!”
So here we go. You will need:
A pillow insert (mine are 16″ square)
1/2 yard fabric (if your pillow is wider than 18″ get 3/4 yard)
Thread
Sewing machine
For those, like me, that like to know where we are heading before we start, here are some photos of the front and back:
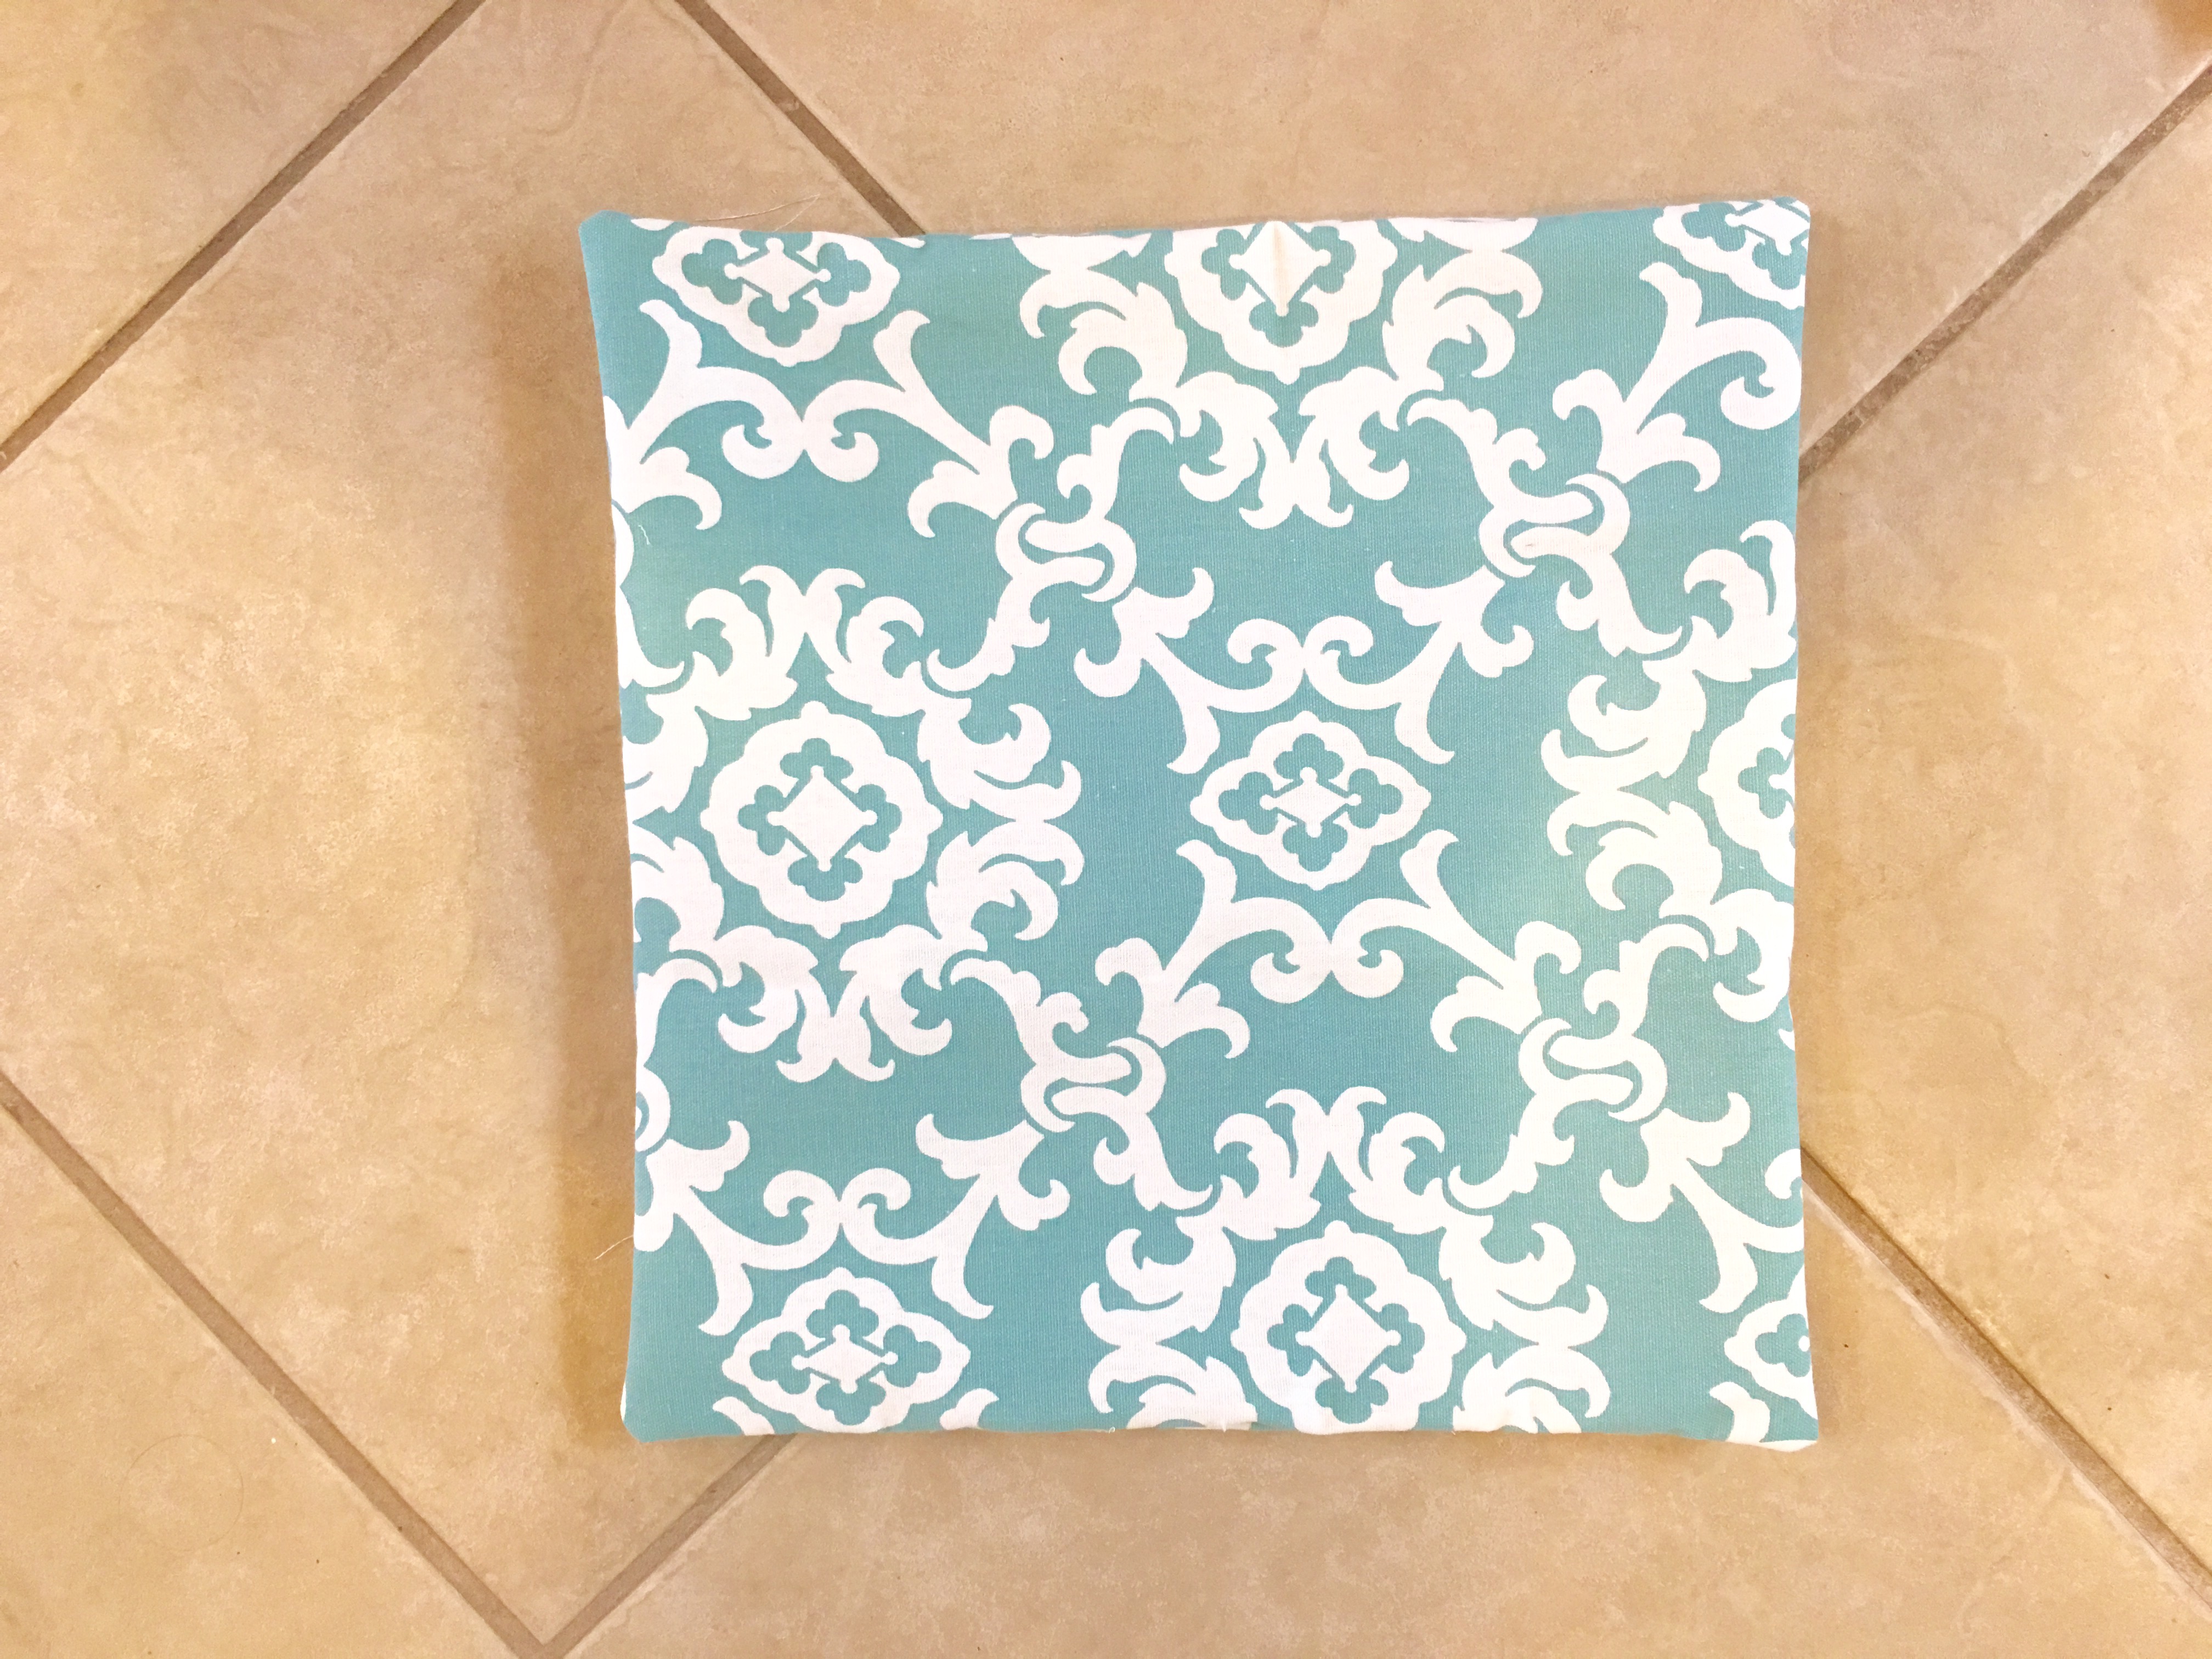

The front is pretty plain construction- wise (it just lets the fabric print stand out) and the back is a pocket style with two overlapping panels.
Once you have all of your supplies together, it’s time to cut your fabric. I cut my fabric to fit the same size as my pillows. Many interior designers advise putting pillows in slightly smaller pillow covers for a fuller look. Since it will end up slightly smaller after you sew the seams, mine turned out looking very full. 🙂
So you want to cut your front panel the exact width and length of your pillow. My pillow is 16x 16 so my front panel is 16 x 16.
There are two overlapping back panels and this is where the math is involved. Each back panel needs to be the same width and then 1/2 of the length of your pillow plus 3 inches. The best way I found to do this is to add 6 inches to one of the sides. So I cut a rectangle that is 16 x 22 inches.

I then folded it hamburger style (yup- did that take anyone else back to elementary school?) and cut it in half. Each of my back panels are now 16 x 11 inches.

Next, I ironed and sewed a finished edge on one long side of each of my back panels. (These are the opening to the pocket part of the pocket cover.)

After I sewed those, I assembled the pillow inside out and fastened with straight pins to keep everything together as I was sewing.

Then I just sewed around the outer edges of the pillow cover. Don’t forget to clip the corners so they look nice and square when you turn it inside out!

Then just turn the case inside out, push out the corners and stuff your pillow insert into it!

TA DA! Don’t forget to sit back and admire your work for a while!

One thought on “Making a DIY Pillow Cover”